
Jen Coles, a professional home designer who lives in Manchester, says time at home can be an opportunity to tackle some great projects that are easier than you think (like organizing your family photos).

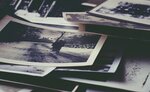


Really, a week like none other - and probably more to come. Are you like me? I’m working as fast as I can while I still have the work. I’m trying not to hover too close to my fridge, even though it’s just sitting there calling my name. And I’m trying to strike that balance somewhere between productivity and inertia. And to that end, I offer you a juicy household topic - PHOTOS! (printed not digital.)
Now some of you may be surrounded right now by oodles of photos in mis-matched frames, and you have blown up portraits on your wall and old-school prints taped to your fridge and every niece and nephew’s class photo framed on your mantle. And if you LOVE each and every one, and if the thought of eliminating any of them leaves you feeling unsettled and depressed - then please, don’t change a thing! It’s all about comfort with your surroundings.
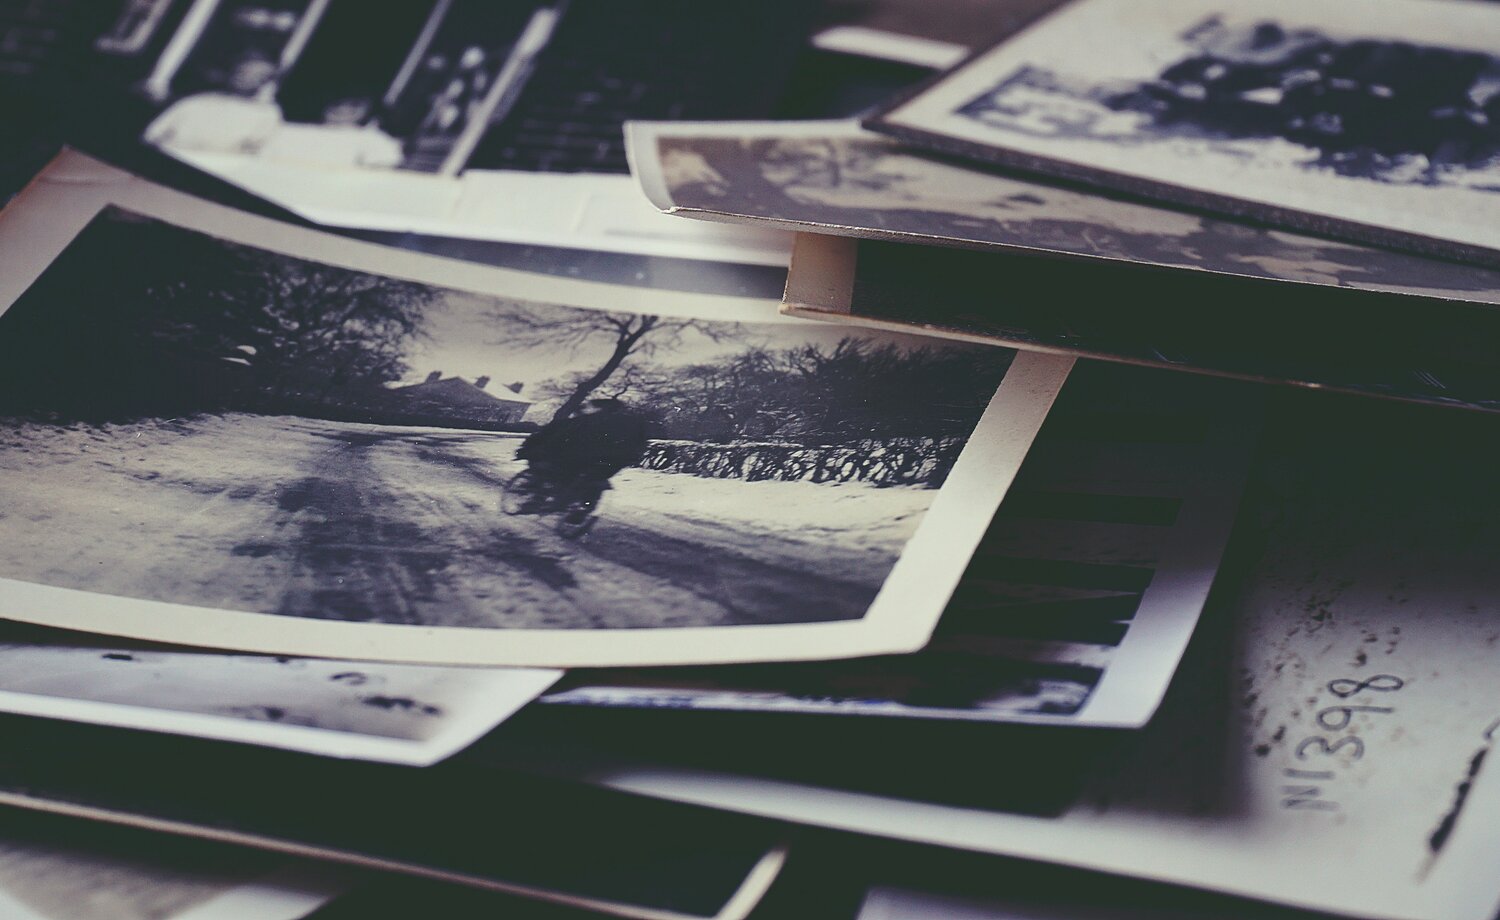
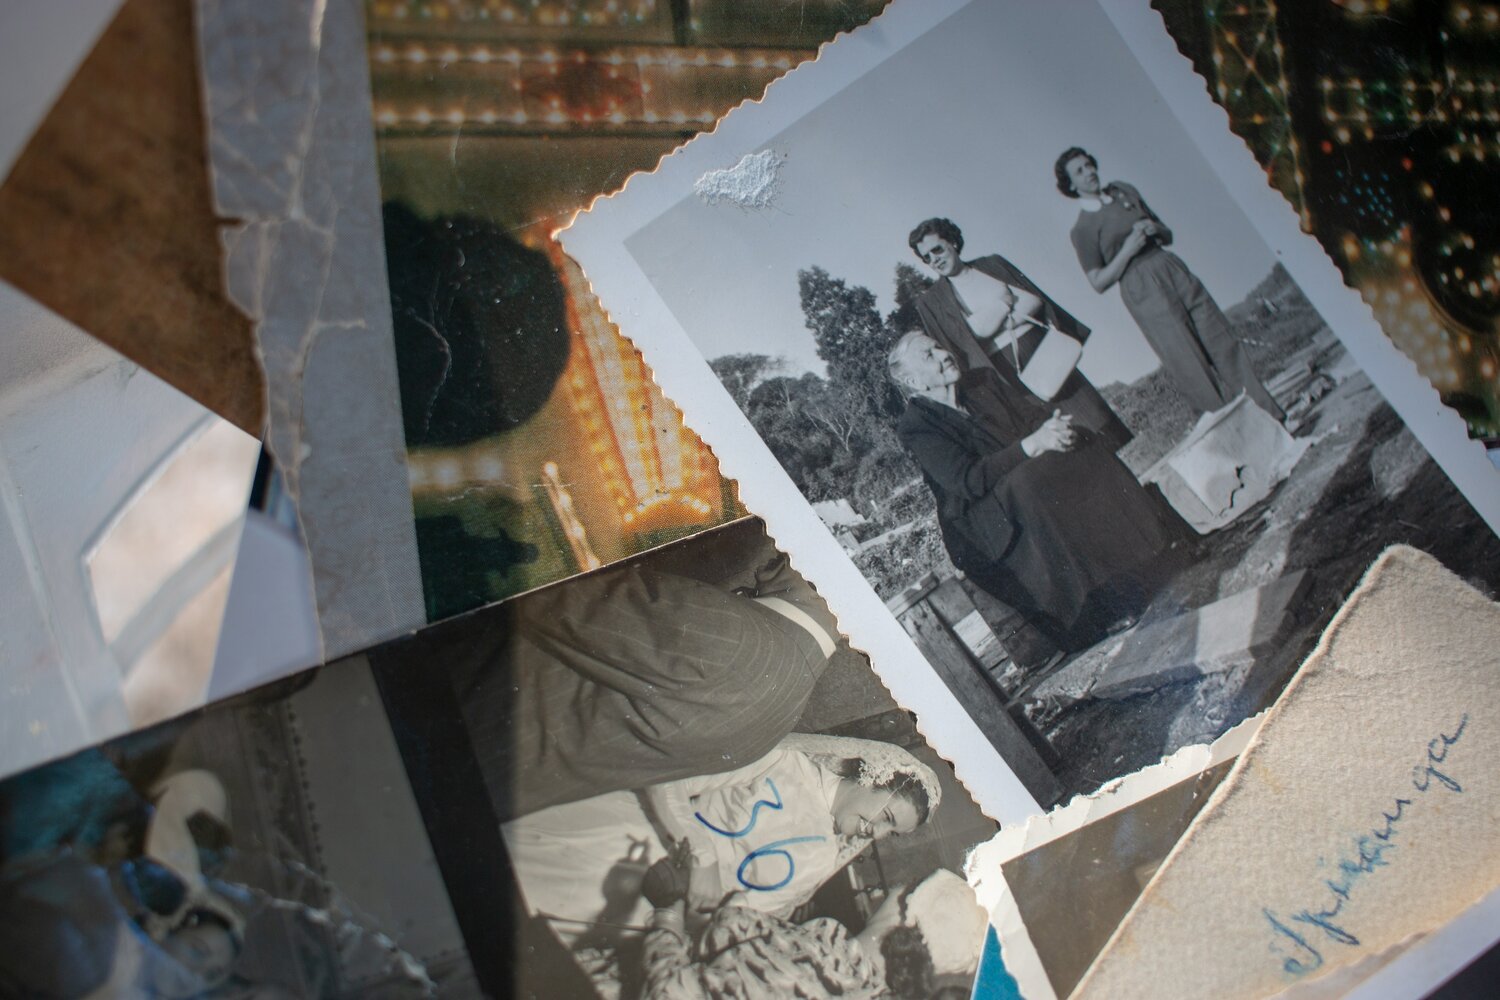
But for some of you, especially if you are like me and your kids are mostly grown, the photos have sort of evolved into this multi-tentacled beast that oozes into every nook and cranny of your home. There are the yellowed scrapbooks with those awful sticky pages, a manila envelope with ancient family photos, well-intentioned folders for each of my poor kids that never made it into a scrap book. You get the idea. And if you are as old as me? Well kids, back in the day, when we got our photos “developed” (an ancient term) - we all ordered DOUBLES. Truly an unruly beast.
So, if this is you, here is your first assignment: collect all the photos in your house. Yes everything - all your piles and scrapbooks and frames from the Christmas Tree Shop. Collect them ALL, and take all the photos out. (The only exceptions being your heirloom quality scrapbooks or framed prints.) And sort and edit, and sort and edit, and sort and edit. With any luck, you should now have 1 giant pile of frames you will donate, 1 smaller pile of frames you like, a filled garbage bag - and then a whole mess of piles of sorted photos on your bed. (Me? One of my piles is a superstar pile - my absolute favorites that I save for a bulletin board.)
A word on sorting and editing... First of all - enjoy it. It’s a really nice way to review your life! But I know it can also be really hard, because you should be keeping maybe 1/4 of the photos on your bed. If you stay focused and keep your eye on the prize - it will happen naturally. You will realize that you only need 1 or 2 photos from that trip to Aruba when you were 17, not a whole sticky scrapbook. You want to mark some interesting events, and you want to keep your exceptional photos - and that’s all! Your children will thank you for it. And, trust me, you will feel LIBERATED!
Now we can move on to “Display.” You need to walk around your house and pick maybe 2-3 places to display your exceptional photos. I’m not a huge fan of the big blown up ones - I keep mine small, so they need to be displayed where people can stand close. I like bathrooms or hallways, or bulletin boards near a desk, or maybe on a sideboard. But focus on a few places to cluster your photos instead of sprinkling them evenly throughout your home.
Take a look at your frames and at your photos and think about groups. You may need to add some new tasteful frames to your collection so that your group of frames looks nice when clustered together. And also think of photo groups - do you want to show all the boats your family has ever owned (including a cute picture of two kids in a rowboat?) Or grandchildren? Or just your favorites - there are no real rules. When I hang a cluster of photos, I use a Sharpie pen and some wrapping paper with the white side up. I trace the photos onto the wrapping paper, cut them out, and tape them to the wall so I can get the balance right - then I hang the actual photos using that layout as my guide.
Another display solution that is more fluid and can easily handle new additions is to mount a few photo ledges. You can buy them on amazon and tons of other places and those work great, but I actually like the ones I design myself because I use a smaller scale and can make them the exact size I want. I recommend leaning up your groupings (in their tasteful frames) on these ledges and, as the years pass, you can juggle the photos around and update them.
Well, that was fun - but we still have all those piles on your bed. How to store these? I like the photo box method with dividers - and you really shouldn’t have much more than 2-3 boxes total. The boxes can go on a shelf or put all photo related stuff in a tub for the attic. For bonus points, do what I did and get them scanned in. That way your printed photos meet up with your digital photos (which you probably have a million of - but that’s for another day) and they can be all sorted and labeled and live happily ever after in the Cloud for generations to come. And the online photo albums you make with your digital photos take up much less room and you can make as many copies that you need. But wow, that’s jumping ahead - you’ve done so much already! One step at a time. That unruly beast will not be completely slain in one day!


